Digital Sketchpad with an ESP32
/ 7 min read
Updated:Introduction
When ordering my ESP32 freenova kit, I also got this display kit. It seemed cool and at the time I had a bunch of ideas of how to make good use of it. I ran into some issues getting it to work, namely not having a datasheet for the TFT breakout board, but armed with a multimeter, I conquered it.
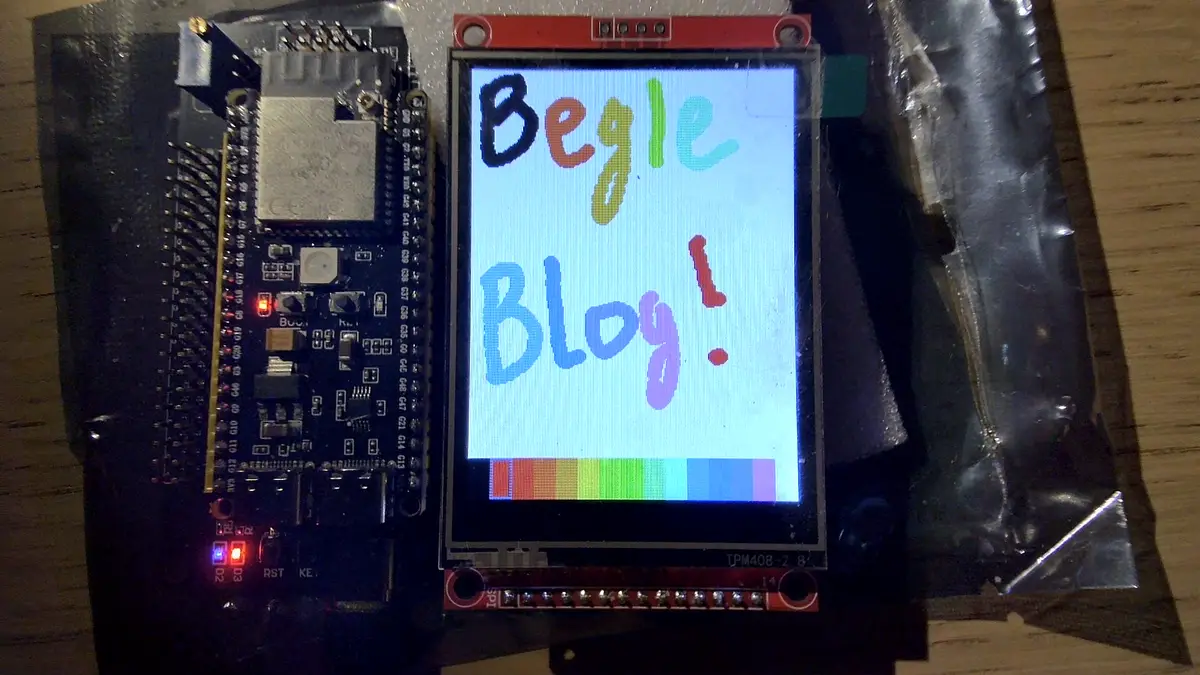
I am not actually sure what type of display board it is as I just got it off aliexpress.
From doing some digging it looks like an LCD screen that uses a ILI9341 as its display controller,
and a XPT2046 as its touch controller.
Pin Layouts
When ordering this board, I figured it wouldn’t be to hard to find out the pin connections, but I couldn’t find them online anywhere. I used a multimeter and checked what pins had a resistance between them and the input pin. If it showed a reistance pin, it indicated that it was connected to that GPIO pin.
TFT 2.8 Interface
| Name | GPIO |
|---|---|
| CS | 14 |
| Reset | 21 |
| DC | 47 |
| MOSI | 45 |
| SCK | 3 |
| LED | 9 |
| MISO | 46 |
| TCLK | 42 |
| TCS | 1 |
| TDIN | 2 |
| TDO | 41 |
| TIRQ | -1 |
0.96 OLED
| Name | GPIO |
|---|---|
| SCL | 41 |
| SDA | 42 |
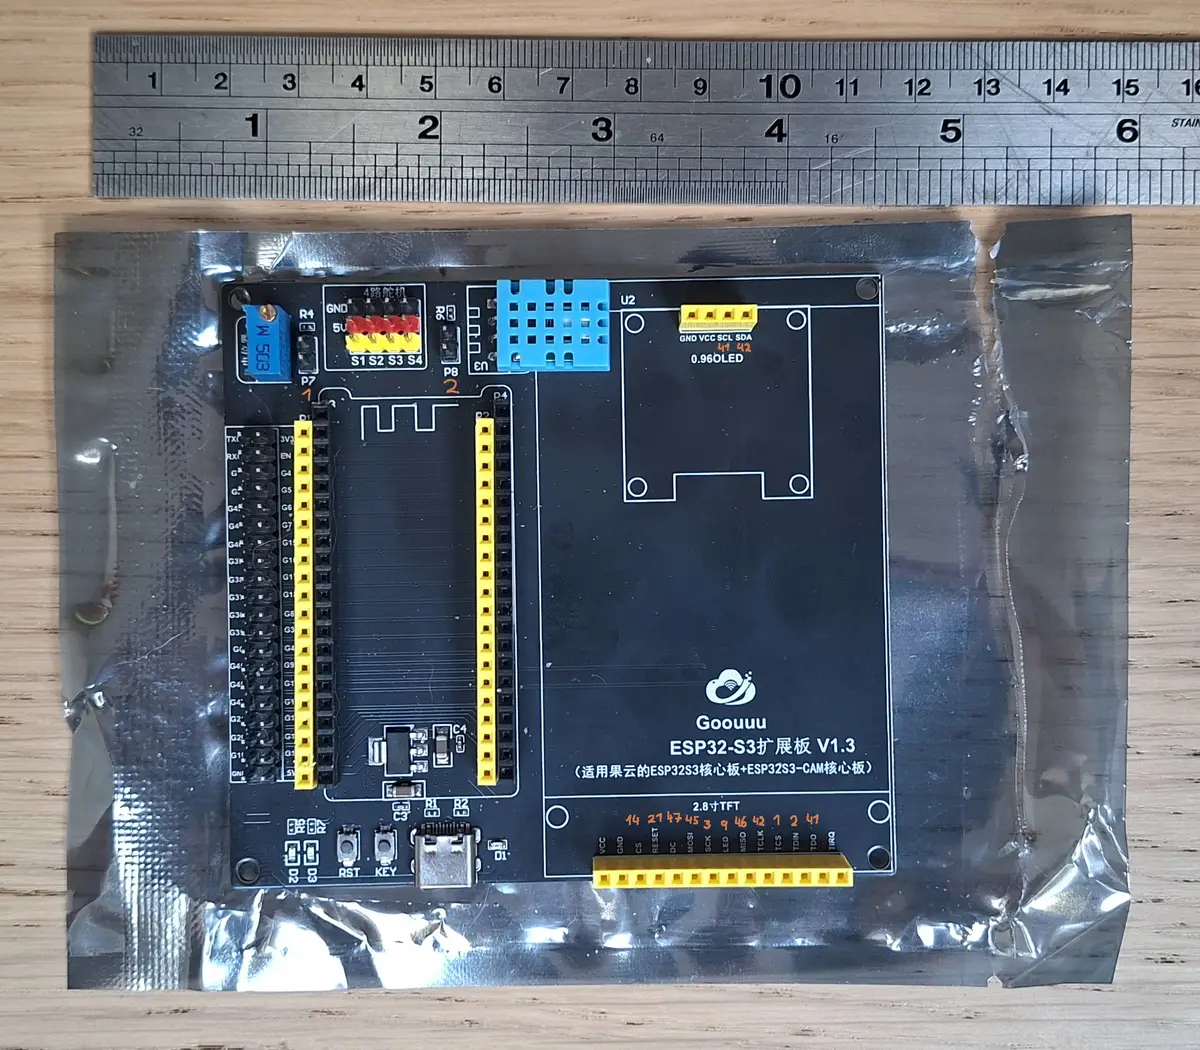
Defining the Board
Using what I discovered above, I defined a handy dandy object that use these pins. Using the LovyanGFX library, I interfaced with the TFT display. There is two parts to the board, the display part and the touch part.
The display part defines its clock pins, and its write speed, this being its refresh rate if I understand it properly. Most of the time you are writing to the display so the read frequency can be set lower. If you want to save the current state of the screen you can read it as well, essentially taking a screenshot.
The touch has its own dedicated set of SCLK, MOSI, MISO, and CS pins, meaning it has its own
independent SPI bus. This is good as without this, it would use the same SPI bus as the display.
The SPI speed would be limited to the lowest speed. I found a frequency of 1000000 to be suitable.
Any higher than this caused glitches with the touch point bouncing around, being more susceptible to noise.
Pin Definitions
Display Pin Definitions
| Name | Definition |
|---|---|
| CS | Chip Select, actively wakes up the display controller when pulled LOW, When set to HIGH it ignores the SPI bus. |
| Reset | Hardware reset, when pulled low, it wipes the temporary memory of the board. |
| DC | Data/Command Select, tells the display how to interpret the incoming data, LOW means incoming data is instrustions. HIGH means raw data. |
| MOSI | Master Out, Slave In. Data highway carrying commands and pixel data from ESP32 to screen. |
| MISO | Master In, Slave Out. The return data line. Allows the ESP32 to read diagnostic data from the display. |
| SCK | Serial Clock. forces the display to syncronise its data with the ESP32, at the given heartbeat frequency. |
| LED | Backlight control, its a PWM pin, so the brightness can be controlled by the ESP. |
Touch Pin Definitions
| Name | Definition |
|---|---|
| TCS | Touch Chip Select, actives the touch sensors communication when pulled LOW |
| TDIN | Touch Data In. The equivalent of MOSI for touch. The ESP32 uses this data to request data from the touch chip. “Measure the X-Axis” |
| TDO | Touch Data Out. The equivalent of MISO for touch, passes the coordinate reading back to the ESP. It is making it very accurate. |
| TCLK | Touch Clock. The dedicated clock timer for the touch system. It ticks at the specifie frequency to read touch positions. |
| TIRQ | Touch Interrupt Request. This drops to LOW when a touch input is detected. It is disconnected on the breakout board, but typically it would alert the ESP of an action. Without this only a polling approach can be taken. |
LGFX Setup
Taken from my Github, it sets up the display and touch modules with the pins we identified.
class LGFX_Config : public lgfx::LGFX_Device { lgfx::Panel_ILI9341 _panel_instance; lgfx::Bus_SPI _bus_instance; lgfx::Light_PWM _light_instance; lgfx::Touch_XPT2046 _touch_instance;
public: LGFX_Config() { { // 1. DISPLAY BUS auto cfg = _bus_instance.config(); cfg.spi_host = SPI2_HOST; cfg.pin_sclk = TFT_SCLK; cfg.pin_mosi = TFT_MOSI; cfg.pin_miso = TFT_MISO; cfg.pin_dc = TFT_DC; cfg.freq_write = 80000000; // 80MHz cfg.freq_read = 16000000; _bus_instance.config(cfg); _panel_instance.setBus(&_bus_instance); }
{ // 2. DISPLAY PANEL auto cfg = _panel_instance.config(); cfg.pin_cs = TFT_CS; cfg.pin_rst = TFT_RST; cfg.memory_width = 240; cfg.memory_height = 320; cfg.panel_width = WIDTH; cfg.panel_height = HEIGHT; cfg.offset_x = 0; cfg.offset_y = 0; cfg.rgb_order = false; cfg.offset_rotation = 0; _panel_instance.config(cfg); }
{ // 3. TOUCH DEVICE (On SPI3_HOST) auto cfg = _touch_instance.config();
cfg.spi_host = SPI3_HOST; cfg.bus_shared = false;
cfg.pin_sclk = TOUCH_SCLK; // TCLK cfg.pin_mosi = TOUCH_MOSI; // TDIN cfg.pin_miso = TOUCH_MISO; // TDO cfg.pin_cs = TOUCH_CS; // TCS
cfg.freq = 1000000; // 1MHz
cfg.x_min = 0; cfg.x_max = 239; cfg.y_min = 0; cfg.y_max = 319;
_touch_instance.config(cfg); _panel_instance.setTouch(&_touch_instance); }
{ // 4. BACKLIGHT auto cfg = _light_instance.config(); cfg.pin_bl = TFT_BL; cfg.invert = false; _light_instance.config(cfg); _panel_instance.setLight(&_light_instance); } setPanel(&_panel_instance); }};Calibration
The touch will not work out of the box unless it is calibrated beforehand. Below is how to calibrate it. Once you calibrate it, the values are stored in the array.
uint16_t call_data[8];lcd.calibrateTouch(cal_data, TFT_WHITE, TFT_BLACK, 30);for (int i = 0; i < 8; i++) { lcd.println(cal_data[i]);}lcd.setCursor(0, 0);Using this array, you can precalibrate the touch screen upon startup.
uint16_t cal_data[8] = {226, 3811, 288, 193, 3891, 3826, 3900, 182};lcd.setTouchCalibrate(cal_data);Displaying an Image
Given some image, it has to be converted to a raw image. The Lovyan expects the high order bits to contains the red information. It uses the 565 format, that being 5 bits for red, 6 bits for green as we naturally are more sensitive to green, and the remaining 5 bits for blue.
ffmpeg -i "$1".png -vcodec rawvideo -f rawvideo -pix_fmt rgb565be "$1".rawThis gives us a raw image that we can further processes. We can convert the raw image into a C
style header file that describes the image using xxd.
xxd -i "$1".raw "$1".hThis can be then drawn on the screen using a function that the library provides. Xxd provides the header
file where the image is represented as uint8_t, the display uses 16 bit colour as we just simply
cast it as a uint16_t.
lcd.pushImage(0, 0, WIDTH, HEIGHT, (uint16_t *)image_raw);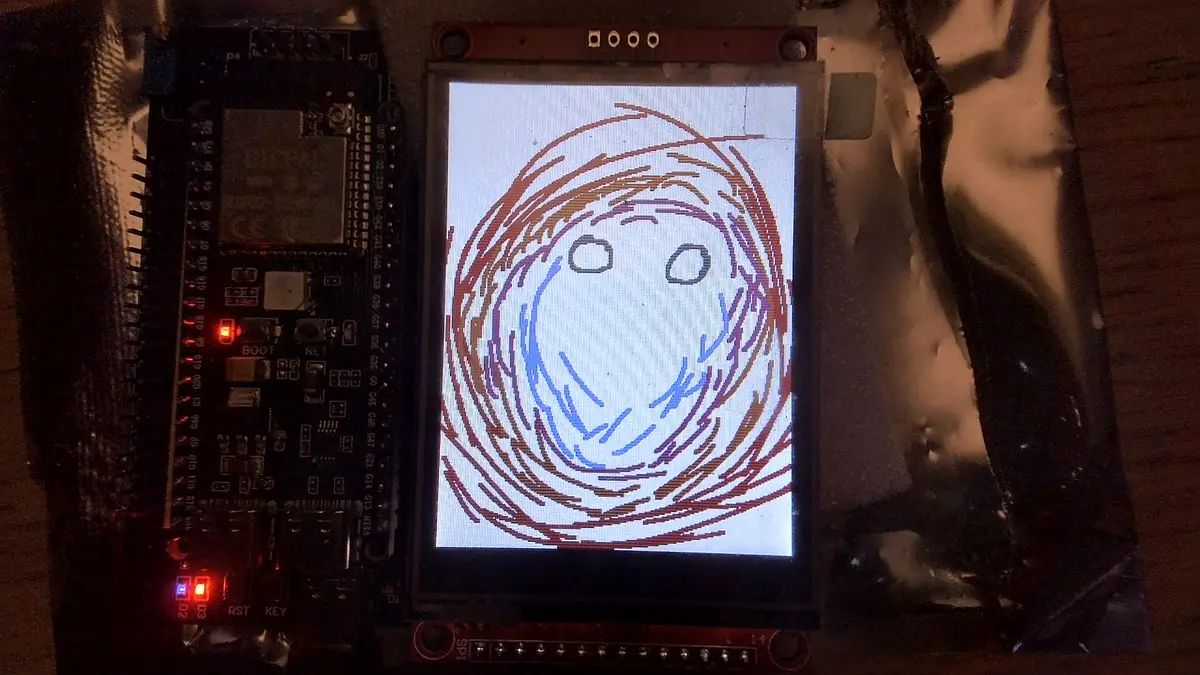
LovyanGFX Helpers
There isn’t from what I found a dedicated central documentation for how to use the LovyanGFX library.
I compiled some useful functions for when interacting with it. The lcd can be replaced with a sprite
object to push/draw on a given sprite.
Basic Geometry
These are the building blocks of any UI. Most commands have a draw version (outline) and a fill version (solid).
| Shape | Command | Description |
|---|---|---|
| Line | lcd.drawLine(x0, y0, x1, y1, colour); | Draws a line between two points. |
| Rectangle | lcd.drawRect(x, y, w, h, colour); | The outline of a rectangle. |
| Filled Box | lcd.fillRect(x, y, w, h, colour); | A solid rectangle. |
| Circle | lcd.drawCircle(x, y, r, colour); | The outline of a circle with radius r. |
| Filled Circle | lcd.fillCircle(x, y, r, colour); | A solid disk. |
| Triangle | lcd.fillTriangle(x0, y0, x1, y1, x2, y2, colour); | A solid three-sided polygon. |
| Ellipse | lcd.fillEllipse(x, y, rx, ry, colour); | A solid oval with horizontal and vertical radii. |
Advanced Smooth Shapes
These functions use anti-aliasing to remove jagged edges, making the UI look modern and high-end.
| Shape | Command | Description |
|---|---|---|
| Round Rect | lcd.drawRoundRect(x, y, w, h, r, colour); | A box with rounded corners (outline). |
| Smooth Rect | lcd.fillSmoothRoundRect(x, y, w, h, r, colour); | A solid rounded box with anti-aliased edges. |
| Smooth Circle | lcd.fillSmoothCircle(x, y, r, colour); | A perfectly smooth solid circle. |
| Arc | lcd.drawArc(x, y, r0, r1, angle0, angle1, colour); | Draws part of a ring; used for circular gauges. |
| Bezier | lcd.drawBezier(x0, y0, x1, y1, x2, y2, colour); | A smooth curve calculated by three points. |
Text and Font Control
LovyanGFX handles text very efficiently, including support for custom fonts and auto-scrolling.
| Function | Command | Description |
|---|---|---|
| Set Font | lcd.setFont(&fonts::FreeSansBold12pt7b); | Chooses the active font style. |
| Text Datum | lcd.setTextDatum(middle_center); | Sets the anchor point (e.g., center-align text). |
| Text Padding | lcd.setTextPadding(width); | Clears a set width before printing new text. |
| Cursor | lcd.setCursor(x, y); | Moves the text starting position. |
| Wrap | lcd.setTextWrap(true, true); | Automatically wraps text to the next line. |
lcd.printf("Value: %d", val); | Standard formatted printing to the screen. |
Sprite and Buffer Management
Sprites allow you to draw complex things off-screen and then push them onto the LCD all at once to eliminate flickering.
| Function | Command | Description |
|---|---|---|
| Create | canvas.createSprite(w, h); | Reserves memory for an off-screen buffer. |
| Pivot | canvas.setPivot(x, y); | Sets the center point for rotation. |
| Push Sprite | canvas.pushSprite(x, y); | Draws the sprite onto the main screen. |
| Rotate & Zoom | canvas.pushRotateZoom(angle, zoom_x, zoom_y); | Rotates and scales the sprite while pushing. |
| Delete | canvas.deleteSprite(); | Releases RAM when the sprite is done. |
Display and System Control
Commands for managing the physical behavior of the display panel.
| Function | Command | Description |
|---|---|---|
| Rotation | lcd.setRotation(n); | Rotates screen (0-3: Standard, 4-7: Mirrored). |
| Brightness | lcd.setBrightness(0-255); | Adjusts the backlight intensity. |
| Sleep | lcd.sleep(); | Turns off the panel to save power. |
| Wake | lcd.wakeup(); | Powers the panel back on. |
| Colour 565 | lcd.color565(r, g, b); | Converts 24-bit RGB to the screen 16-bit format. |
Touch Interaction
| Function | Command | Description |
|---|---|---|
| Get Touch | lcd.getTouch(&x, &y); | Returns true if touched and updates x/y. |
| Is Pressed | lcd.isPressed(); | A quick boolean check for touch activity. |
| Raw Data | lcd.getTouchRaw(&x, &y); | Returns the uncalibrated ADC values. |
| Calibration | lcd.calibrateTouch(data, c1, c2, size); | Starts the on-screen calibration routine. |